Why were bungalows built with solid walls in Esher?
During the 1920s and 1930s Bungalows were constructed as more and more people were moving to
the suburbs to move away from the busy cities. Esher, pre the Second World War was not a busy
City as it is today and bungalow construction really took off to provide living space for people looking
to downsize and retire. Like the majority of the construction in those days, properties were
constructed with solid walls. This means the bungalows themselves had 2 skins of brick directly
bonded with no intermediate insulation
Therefore, as more and more people are looking to downsize and live in a bungalow in the Esher and Walton-on-Thames area, they are also looking for a cosy and warm property
With uninsulated property, it is not great for people looking to spend most of their time inside and stay warm, because they will leak energy or be too expensive to heat
Case Study of an uninsulated bungalow in the Reading Area

As mentioned, we receive numerous queries for advice on what people can do to improve the thermal insulation of their properties. For this particular case-study the customer journey begun with the customer Esher one of our other successful projects on the website and then filling out one of our online contact forms.
We then contacted the customer on email stating that the first thing that we always look at is the Google photos available publicly about the prospective property in question. This is so that we can straight away give a rough indication of costs. At all stages in the process we like to manage the client expectations, and budgeting for these types of works is the most important step to cross before proceeding forward.
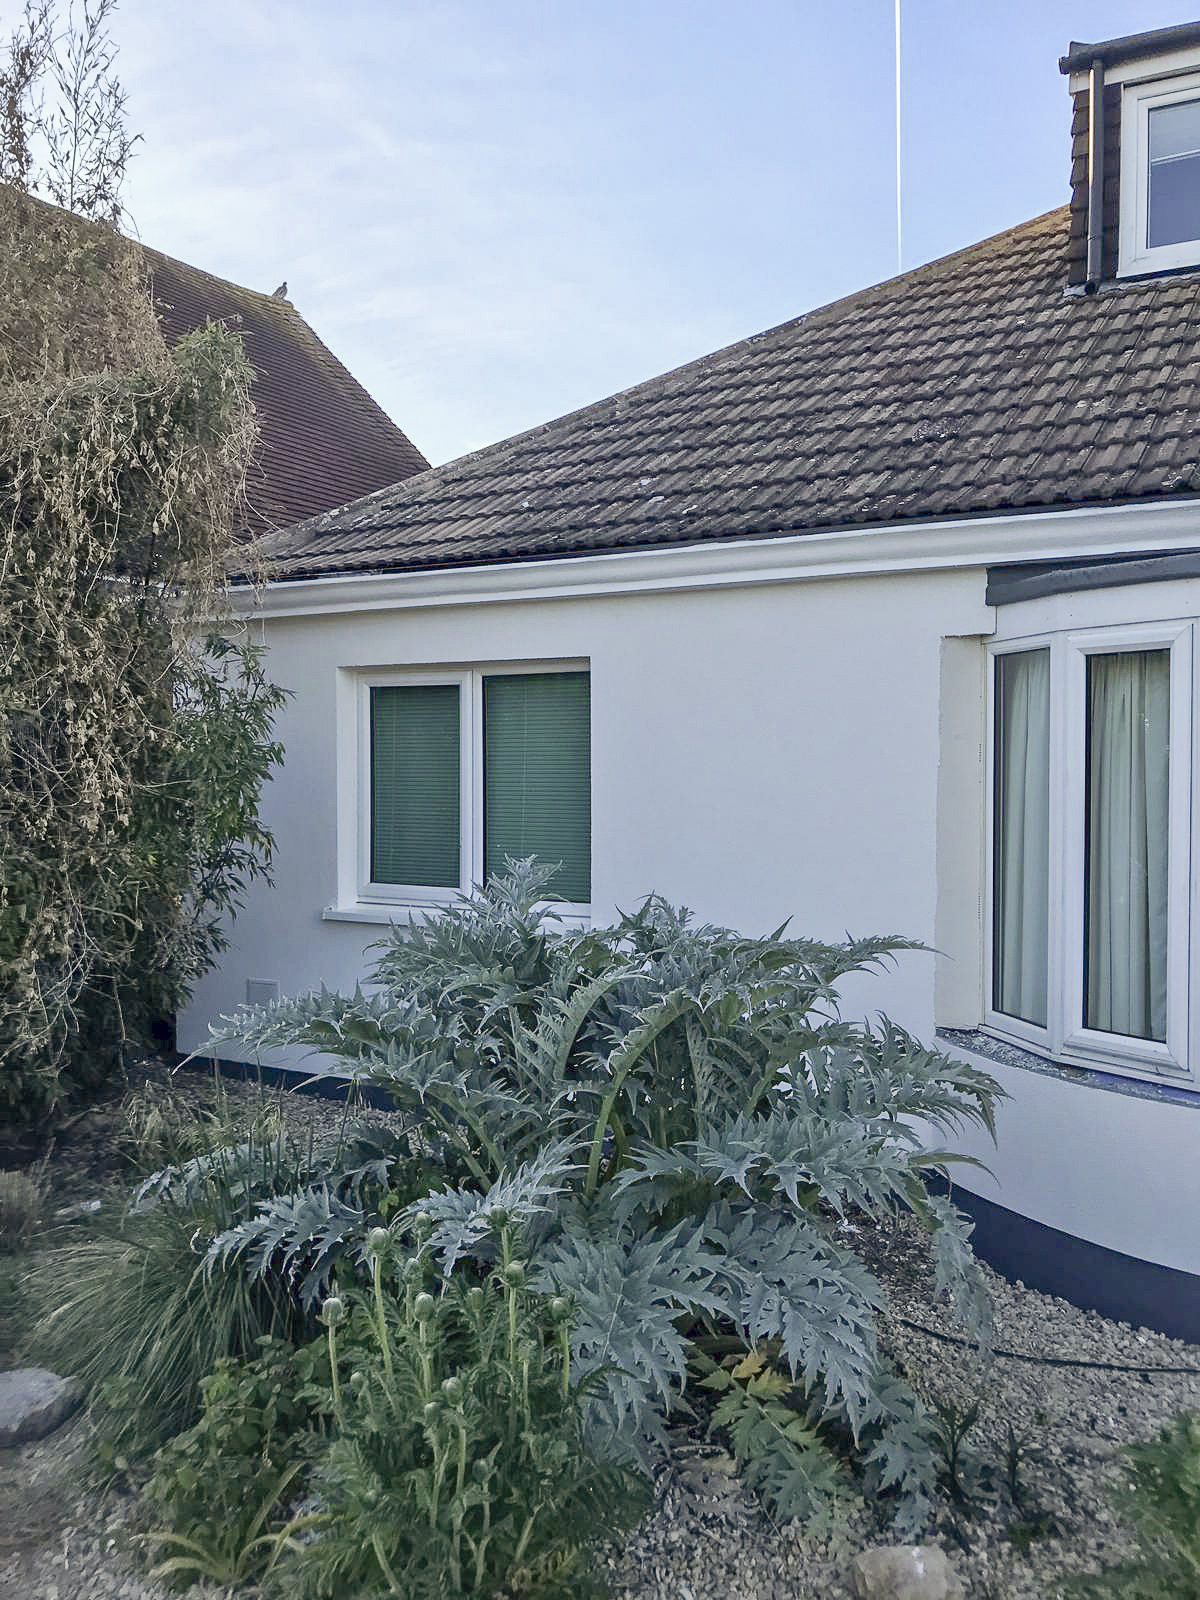
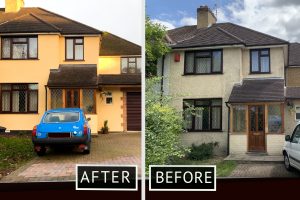
![]() When we looked at the Google photos of this particular property in the Esher and Wolton area, we couldn’t determine the next steps clearly as the photos that were available were not clear enough. This property in Esher like so many in the suburbs is fairly stepped back from the street level with a sizeable driveway, therefore unclear at this stage.
When we looked at the Google photos of this particular property in the Esher and Wolton area, we couldn’t determine the next steps clearly as the photos that were available were not clear enough. This property in Esher like so many in the suburbs is fairly stepped back from the street level with a sizeable driveway, therefore unclear at this stage.
Our technical manager then asked the prospective customer for some specific photographs of the property so that our indication of costs back to them for budgeting purposes For external wall insulation i Esher could be more accurate. This of course would not replace the prospective site-visit for a full survey, but usually the contract values don’t change much when we have this information from the beginning.
Why are pre-survey photos important before external wall insulation?
The photos of the property allow our technical managers to assess not only the impact of the potential external wall insulation actually being fitted onto the walls of a bungalow, but they allow for planning for ancillary and additional works. For example, if a customer would like a Tesla battery to sit in an indoor/ outdoor section, then we need to know upfront for these plans so that we can adapt the external wall insulation system accordingly.
Following on from receiving the prospective photos, we analysed the impact of the works, estimated the budget considerations and at this stage produced a high-level project plan for this bungalow. This information along with the indication of costs was sent to the prospective customer.
A few days passed, the prospective customer contacted us again, informing us that he was happy with our methodology and approach as well as also agreeing to the indication of costs.
Pre-surveying the bungalow for external wall insulation in Esher
We turned up at the prospective customer’s property following on from a few surveys carried out earlier in the day. Our technical manager meets and greets the customer and usually discusses our approach to the pre-survey.
Like all the other pre-survey projects, together with the prospective customer we do a full walkaround the property. This is important for many reasons including: the customer lives at the property every day, so they are best at understanding how elements of the house behave or where they have up-to-date experienced issues. Also, we fully respect the prospective customers’ living space, so fixings like satellite dishes, flower-pots and security light position is important pre and post project completion.
During the walkaround with the prospective customer we tackle one elevation or wall at a time for our pre-survey. We have a laser measuring device as well as a traditional tape measurer. This helps us identify the effective metre squared of insulating product for the job. In addition, we take photos of each elevation as well as the position of ancillary items pre-installation.
In addition to customer specifics, we also carry out checks to the following: gas flues, open chimneys, gas meter, BT box and the positioning of general cabling. When it comes to tackling flues we need to make sure they are extended prior to insulation being installed. Also hot flues and live chimneys require non-combustible insulating materials for those elements to comply with current retrofit methodologies.
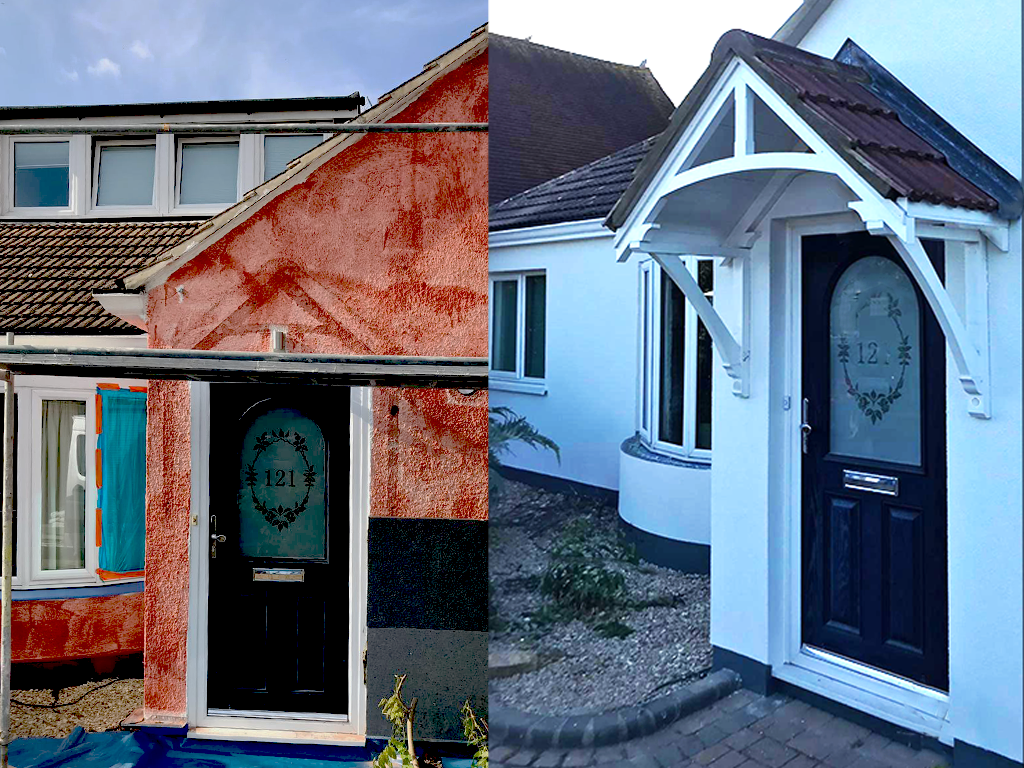
The roof line on many older properties is flush with the profile of the walls. This is a feature of many old school UK properties. Usually the most cost-effective solution at this stage is to insert a profile just above the wall but under the guttering. This caps the insulation at the top and makes it water proof, however doesn’t look aesthetically pleasing nor does it deal with thermal bridging issues.
The prospective customer agreed with us that offering to extend the existing roof line with roof battens, sarking and tiling would ensure the system could fully insulate right to the top of the property, ensure that it stays water-tight, mitigates cold bridging as well as looks aesthetically pleasing. Yes, this solution is more cost prohibitive in the short-run, but obviously mush better for the property in the long-run.
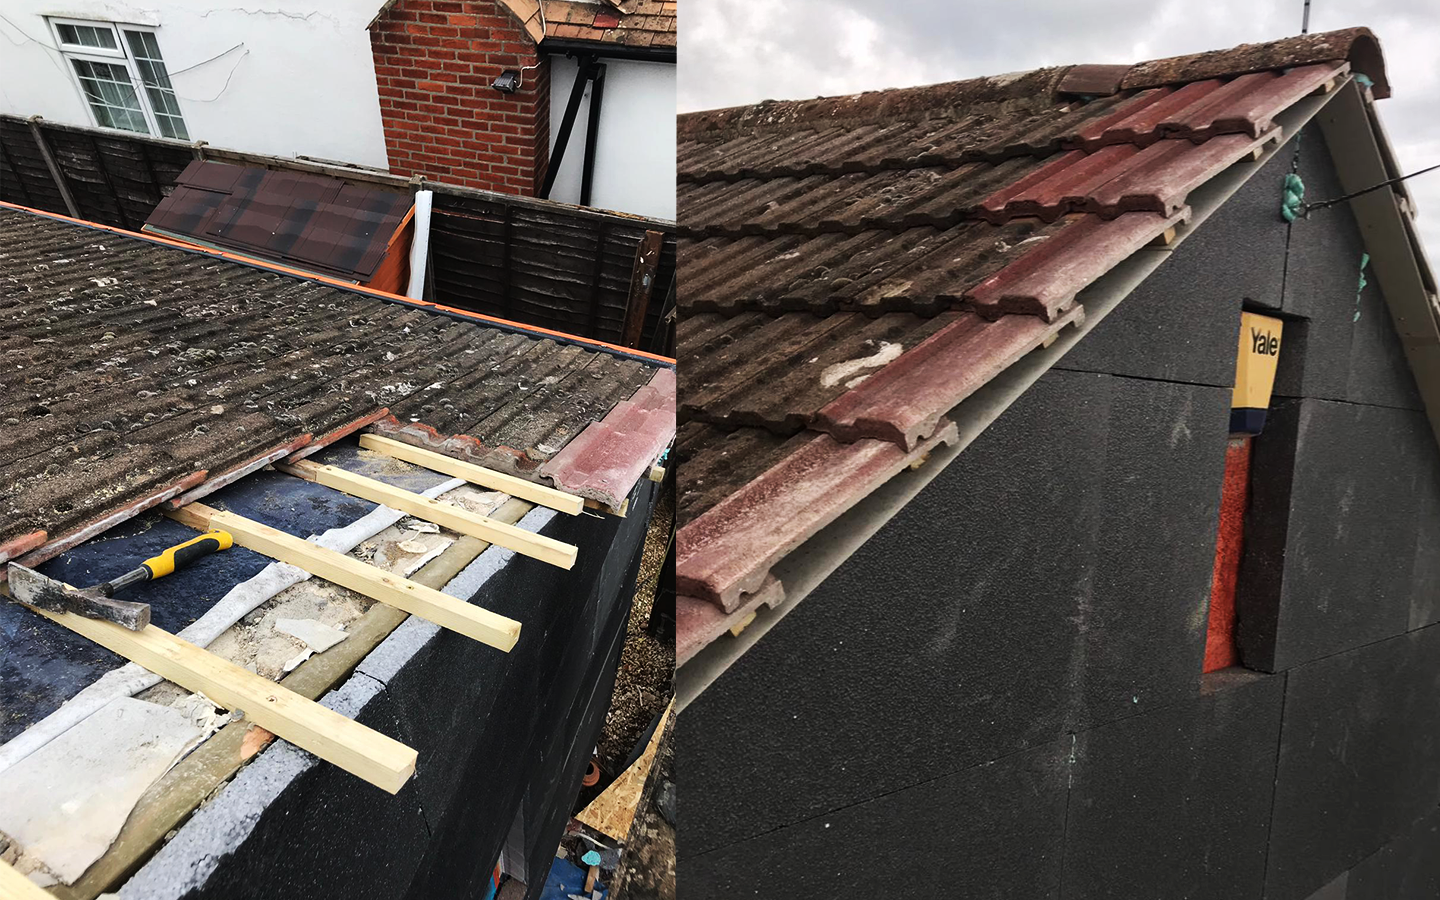
Cold spot above the bay window was spotted as normally the little roof voids here do not naturally have any insulation. We suggested to the customer that we could take off the roof cover, insulate between the battens, then reinstate the roofing with all the necessary flashing back to the walls. The prospective customer at this stage agreed that this would also be the most optimal solution.
Growing plants, that were very important to the prospective customer were spotted growing on one of the wall elevations. Unfortunately, according to the manufacturer’s specification this is not recommended to uphold the integrity of the system. We agree with the prospective clients that plants enhance the aesthetics of a property, and as long as they are kept well away from the walls, regularly pruned back, then this way forward is the best compromise.

Growing plants, that were very important to the prospective customer were spotted growing on one of the wall elevations. Unfortunately, according to the manufacturer’s specification this is not recommended to uphold the integrity of the system. We agree with the prospective clients that plants enhance the aesthetics of a property, and as long as they are kept well away from the walls, regularly pruned back, then this way forward is the best compromis
Getting contract verified for bungalow project in Esher
The pre-installation survey was now complete, and the next steps are as always to agree a way forward with the prospective customer. In this project were more than usual detailing around the porch roof, the roof itself and other auxiliary items. It is at this point that we call upon our external wall insulation manufacturing partner, which in this case is EWI Pro Insulation Systems. They are have a very helpful technical team, who are always at hand to around these types of requests fairly quickly.
After a day or so, we received the technical specification for this project, along with finishing drawings around detailing aspects from the manufacturer. We also clarified the special type of beading required so that we could wherever minimise the use of mastics and silicones. To achieve a long-lasting job, we prefer to use the right beading for each joint or junction rather than rely on a silicone where the performance may not last through lifespan of the measure.
The contract proposal was then sent over to the customer. It is important to say that following on from the pre-installation survey, there was an update in the price following form the stage before, which was a desktop study with photos, to take into account the extras. Having said this our meterage estimate of the job from the photos was actually pretty spot on, and had the project not had any extras allowed for in the works, the cost of the project would have been similar to our indication of costs.
Normally we send out a comprehensive contract with our full terms and conditions, which keeps things out in the open and allows for the opportunity to ask some questions.
In this particular case study, the prospective customer came back to us fairly quickly with an indication that they wanted these works to take place. Once we received this indication, we asked the customer to pay us a £200 deposit so that an installation date could be reserved. Normally we offer a date some 8-10 weeks in advance, as this allows us to fully mobilise our resources. If you require a date without so much notice (i.e. much sooner), then it is worthwhile giving us a call, so that we can let you know if free slots do come up.
The prospective customer signed the contract and automatically turned into a live customer. A copy of the contract was emailed back to the customer. This begun our project mobilisation phase.
Starting the bungalow external wall insulation project in Esher
Normally two weeks before the project starts, we speak to the preferred stockist of EWI Pro Insulation Systems, which in this case was EWI Store in Chessington. As this stage we make sure that all the materials are in stock or expected to be in stock at the time of the project start.
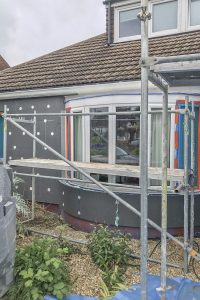
The day before the project begins is normally when the first phase of the materials is dropped off by the preferred stockist. Also prior to the job starting the scaffolding company turns up to the project and sets up the scaffolding.
External wall insulation Esher
This means we carry out all the necessary enabling works to downpipes, cables and any gas flues. The external wall insulation system must be directly attached to an uninhibited surface are of the wall, free from any pipes or high voltage cables. This means when the project is finished, the pipework and cabling sits on top of the new insulated wall.
Many reasons as to why this is done this way, and some are as follows: to achieve aesthetics; to ensure that cold bridging is minimised and that any fixtures and fittings do not impact the performance of the external wall insulation system.
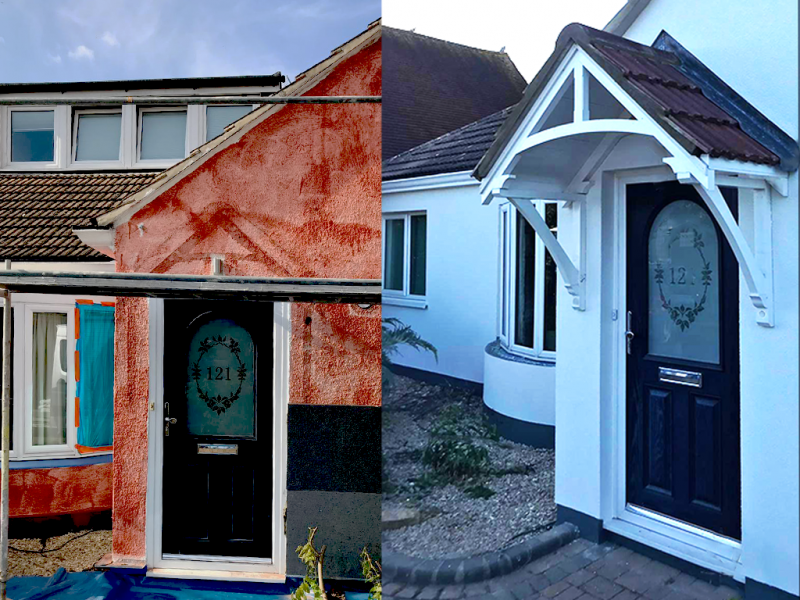
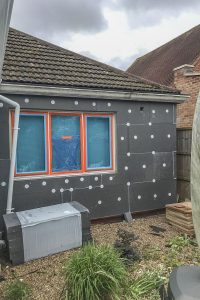
For the bungalow project in Esher we had a list of additional enabling to be carried. First, we extended the roof line. Then we took of the front porch roof and fixed extruded polystyrene to the wall with structural fixings. This was position so that when the installation is complete we could put the roof back with a nicely insulated area behind it.
Finally, we worked on the main roof to extend the rafters, put up the appropriate sarking and match the roof tiles for a like-for-like finish. On this bungalow the access to the roof wasn’t too bad, as the property itself is only one elevation. We would advise on the multiple storey buildings that you specialist scaffolding equipment as well as ensuring that key members of staff are trained to carry out roofing works competently.
We carried out a standard ventilation strategy to this particular project, because from our pre-installation survey it was felt that the insulation going onto the walls of the property would not inhibit materially the air circulation rates within that could cause condensation or damp issues. We simply ask the customer in this case to carry out normal good practice behaviour, such as keeping existing trickle vents open on windows, and making sure bathroom extractors are adequately operating.
Should we feel that the insulation would make the property too ‘air-tight’, which could be when you a significant thickness of product (150mm+), then we would suggest installing low powered trickle vents in certain rooms, just to aid additional air circulation.
Summarising the stages of the installation of the external wall insulation system used in Esher
During the preparation of the walls they are primed with an appropriate primer. In this case the EWI-310 Universal Primer was chosen because it sits perfectly onto painted surfaces.
Once the primer has dried it is time for us to start applying the external wall insulation boards
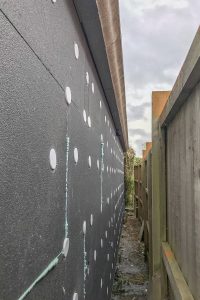
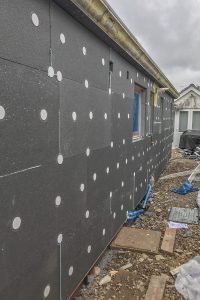
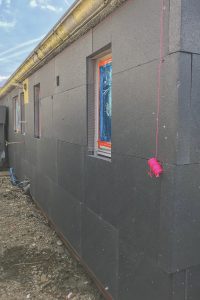
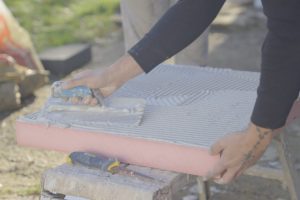
The insulation boards are attached with external wall insulation adhesive. This is applied the back of the boards, making sure the perimeter of the board is covered with three dots and dabs in the middle. The plaster-based external adhesive comes in bag format and is mixed with water on the site. The bags themselves are made from a pre-mix of ingredients and chemicals so that the performance can be consistent.
Doing the adhesion this way onto the boards has proven to be very effective on older properties, particularly as over the years, the walls do not appear to be that straight. The changing amount of adhesive on the boards gives the applicator the ability to level out sections of the wall.
Starter tracks are applied to the base of the property, just above the dpc level. This ensures the property installation has a level surface. Also, the system is then protected from water penetration below the property
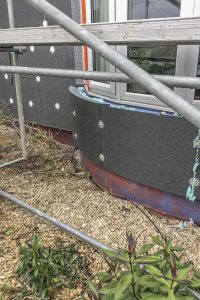
For the boarding itself we start at the base of the property ensuring the first boards are appropriately housed in the starter tracks, so that any drip beads also sit appropriately. The boards once they are full installed look like a brick pattern with interlocking corners for multi-elevation insulation installation. We are also careful to have L-joint boards around the openings, because we appreciate this is where properties are subject to the most movement.
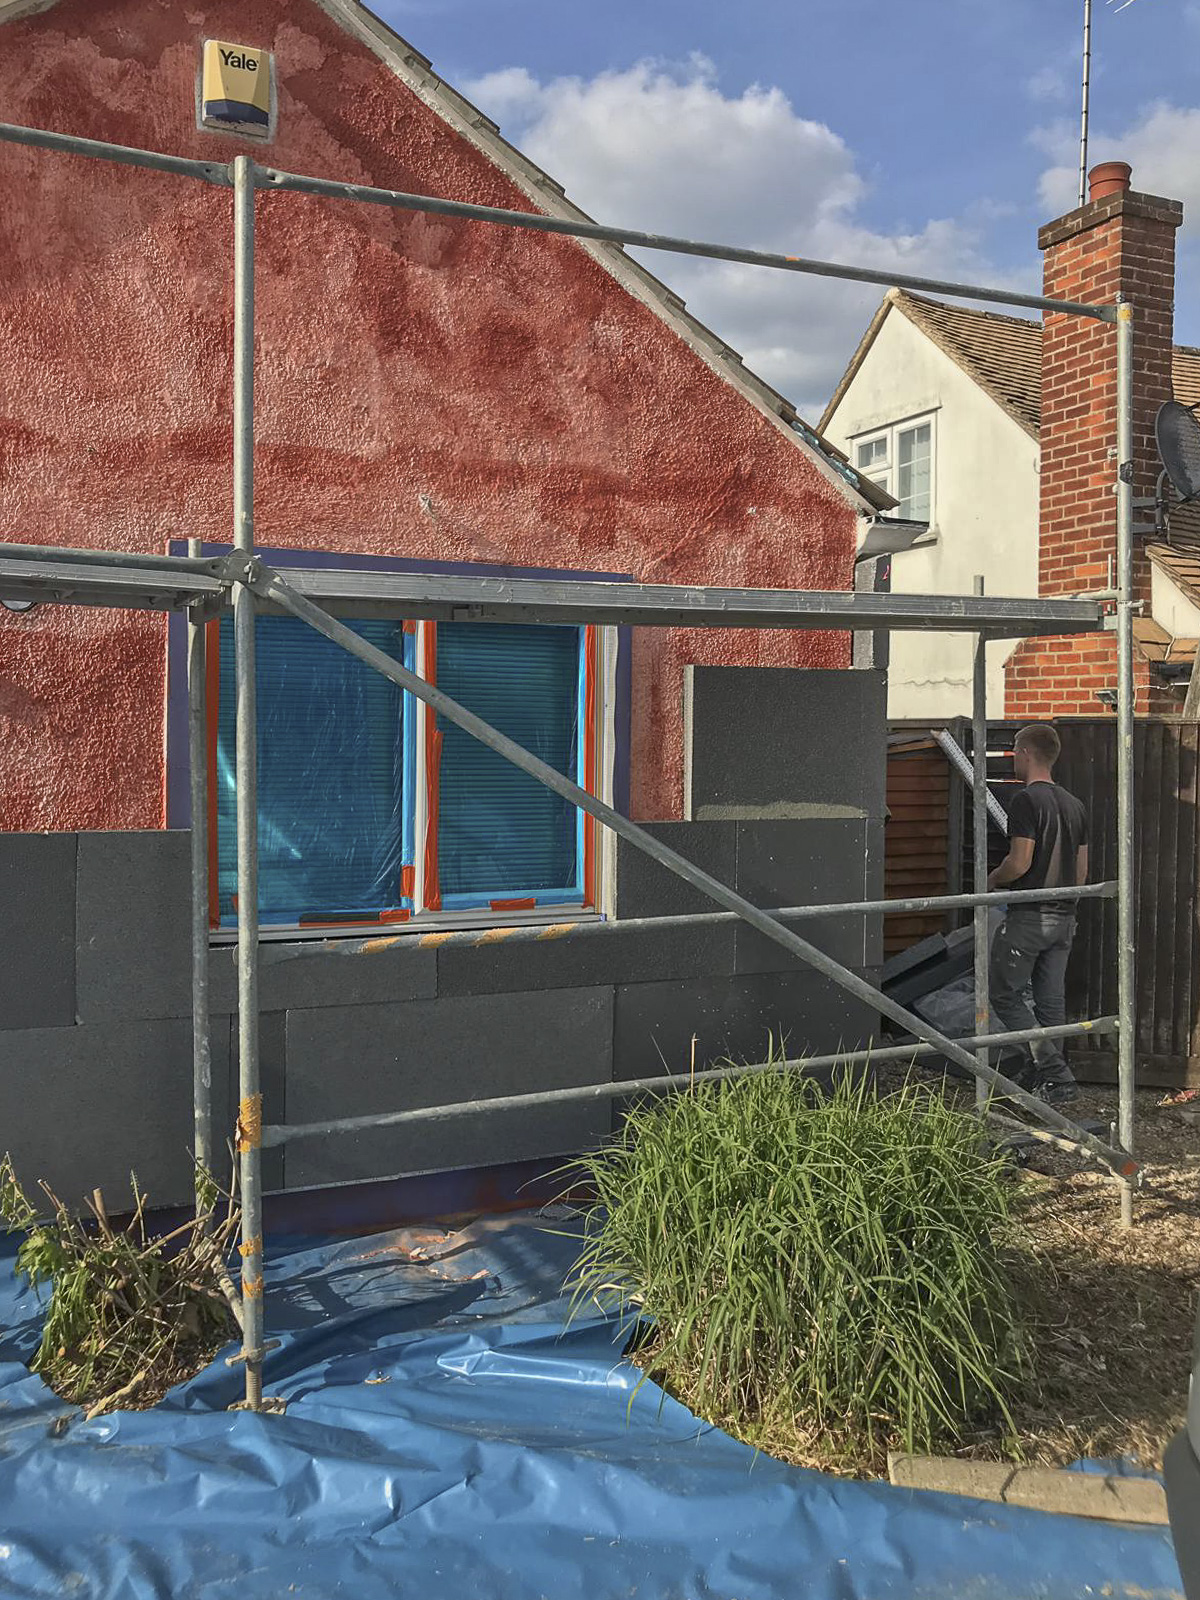
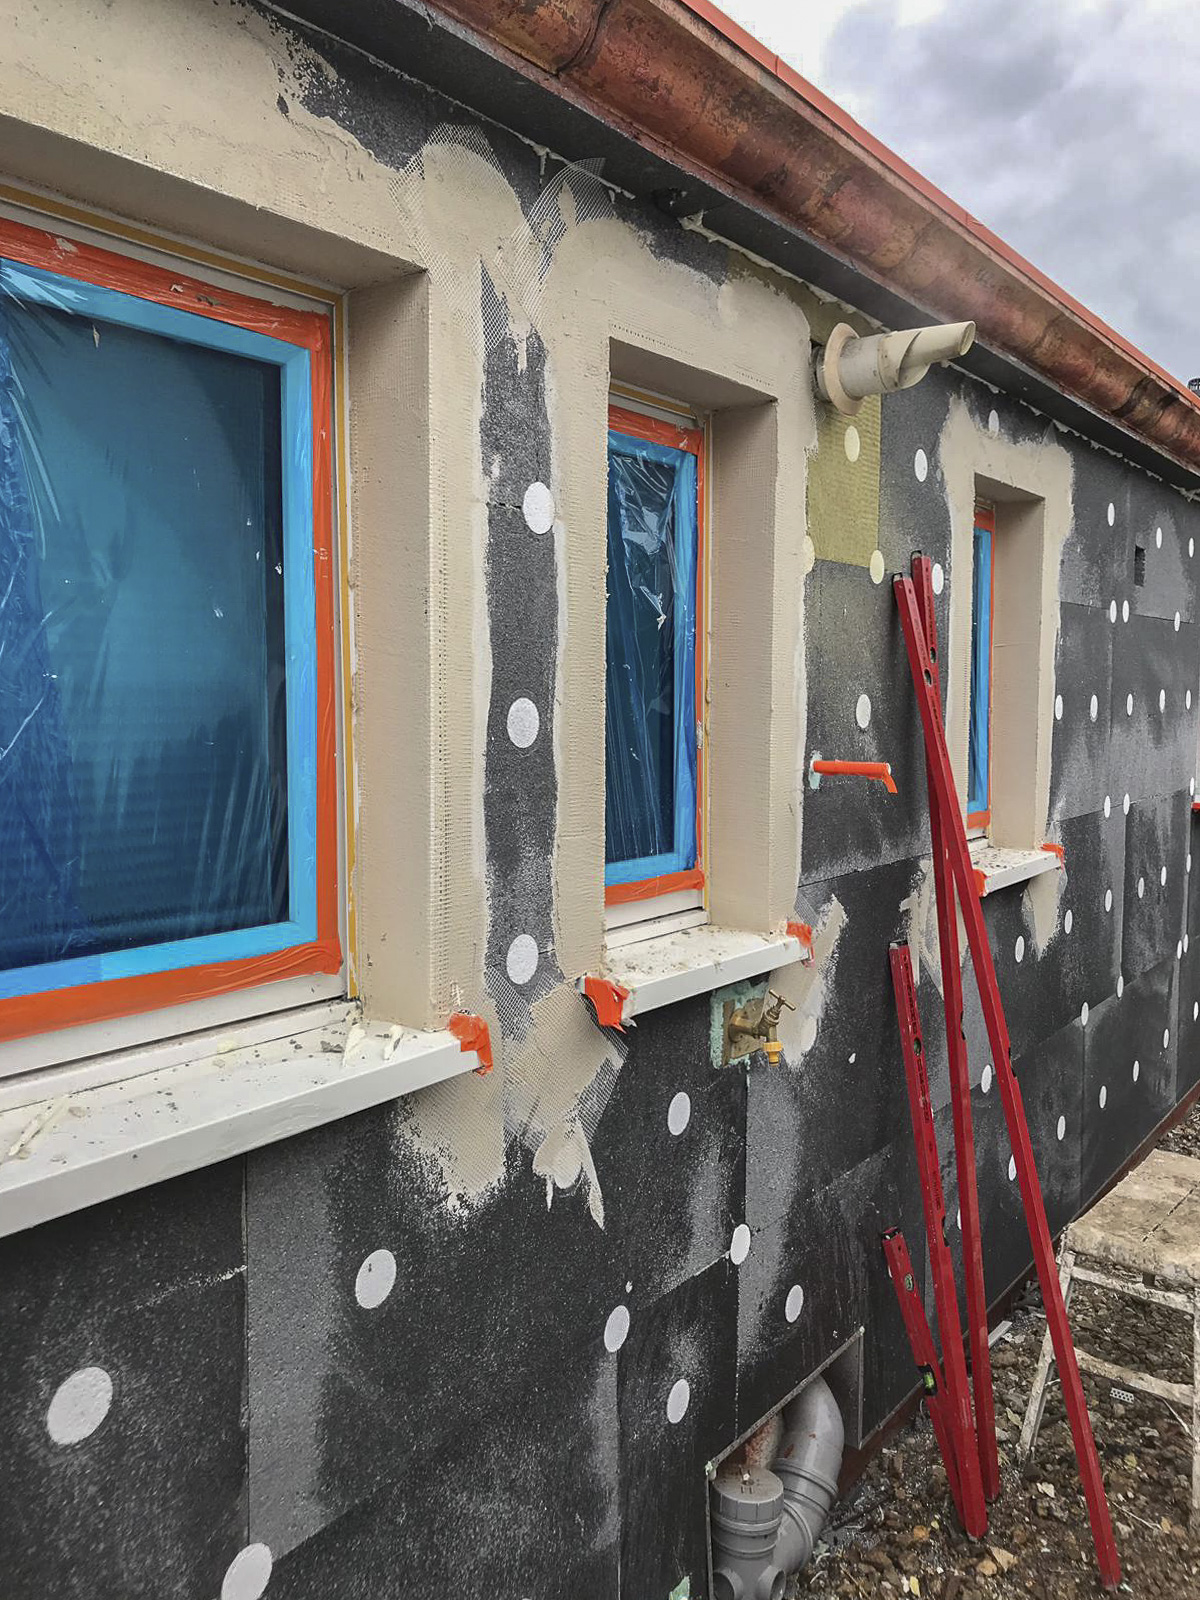
We then leave the adhesive behind the boards to fully dry typically leaving it up to 48 hours so it is nice and set. During this time, we may wish to carry out other activities, such as installing corners beads, window reveal beads and any stop beads. To do this we avoid using foam, but rather mix up a bag or two of the plaster based adhesive product, then use the putt to stick the beads back to the insulation boards. On the bungalow in Reading, it was an absolute pleasure installing the last few boards under the new roof line and soffit detail. The roof line perfectly covered over the insulation with the appropriate drips.
After a day or two we came back to the project to install mechanical fixings. These fixings installed on the bungalow project were plastic sleeved with a stainless-steel reinforced pint going through the middle. Having had a specification from the manufacturer, we followed the exact fixing pattern and procedures.
The mechanical fixing installation is probably the most noise obtrusive part of the external wall insulation process. We have to use a hammer drill, that is able to penetrate the insulation as well as the substrate behind it, and a hammer to place the pins into the correct position. We normally drill 40mm into the actual masonry substrate as this is determined by the manufacturers design pull-out test.
With the fixings out of the way, it is time to apply the basecoat. On the Reading bungalow project, we used the EWI-225 Premium Basecoat, which is the preferred choice from our applicators. The mesh is cut into 2m by 1m strips, then from top down bedded into the wet basecoat on the wall. Our applicators make sure that at least 5-6mm of basecoat product is on the wall. This is plenty of materials for the mesh to pull through and be submerged into this layer. We are always aiming to have the mesh sit in the upper third of this basecoat layer as it is the best practice method specified by our Manufacturer.
The mesh is overlapped between strips, at least 100mm overlapping on both sides. This prevents cracking from natural movements in the property’s sediment. Additional strips of mesh are placed in diagonal strips surrounding the window to reinforce the weak points. Corner beads are full covered and overlapped by a layer of mesh.
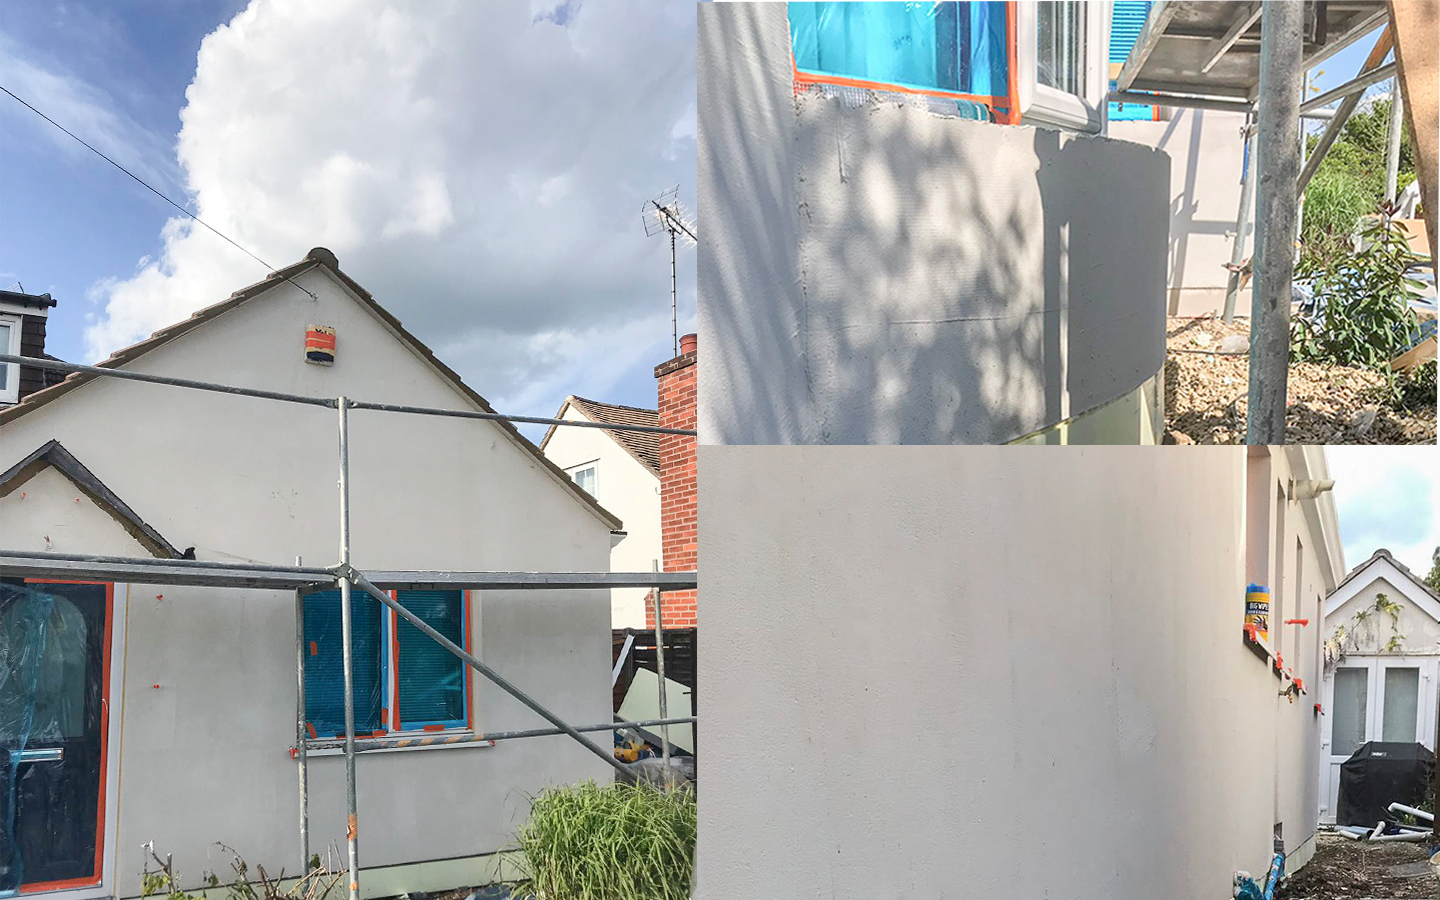
For the Reading bungalow project, we worked in relatively mild conditions, which meant the conditions we faced on site with respect to drying and material setting were quite benign. In this case we left it a few days from finishing the basecoat to actually topcoat.
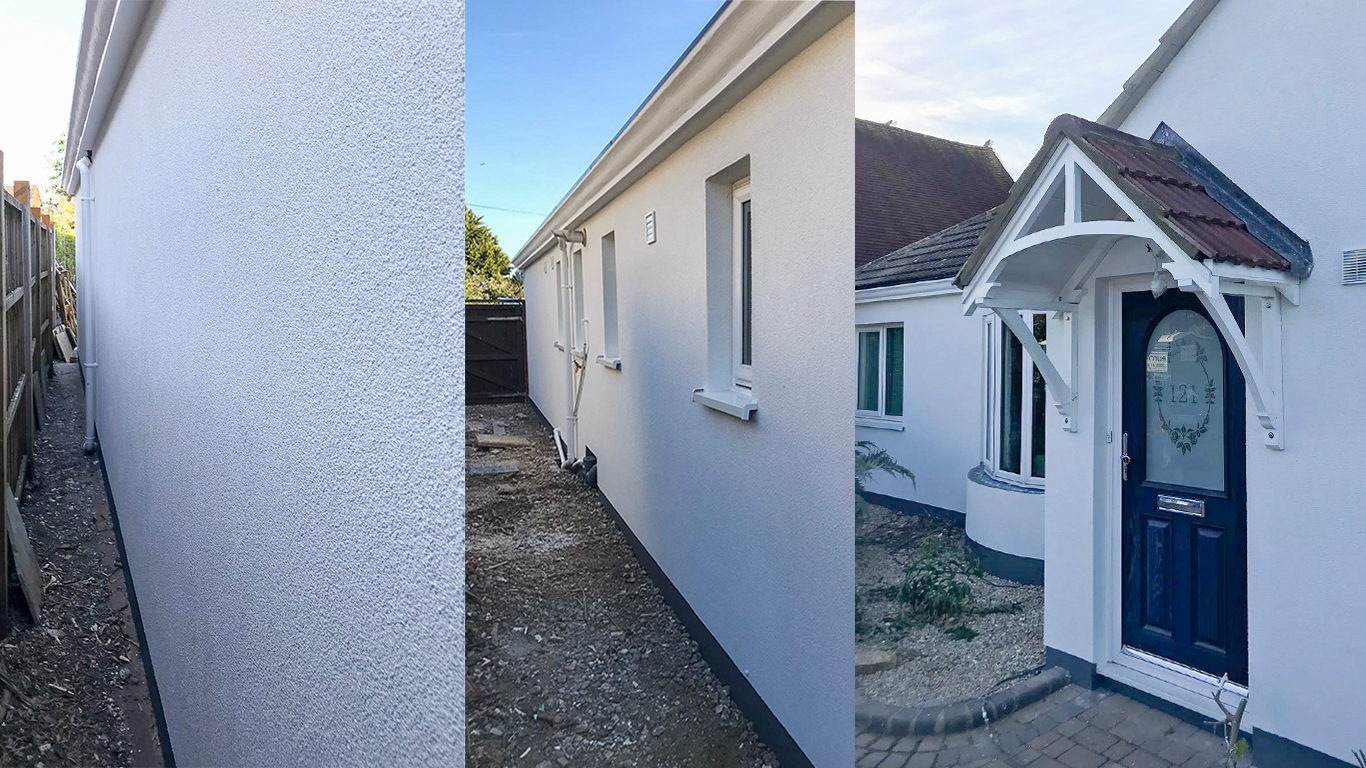
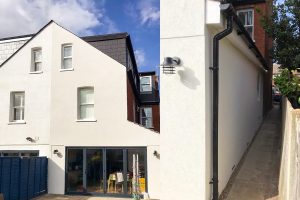
Topcoating with the Silicone Render is the final layer prior to project completion. It gives the façade aesthetics as well as a providing for a hydrophobic and self-cleaning layer. With our years of experience carrying out similar projects in the area, we always find that the topcoating gives us no troubles at all as our preparation works and the basecoating is always perfect.
This is where a non-flat basecoat will mean that possible markings or adulations may appear when the product is cured, and scaffolding is removed. We didn’t have this problem, because our applicators are very experienced and usually when the mesh is fully sunk into the basecoat, we further remove any trowelling lines using a speed-skim.
The render is Reading was applied as per the manufacturer’s specifications, to the 1.5mm grain in the project brief.
Normally the site tidy-up is a couple of days after the render has fully set and we are comfortable that the finish looks good. In Reading as well as all of our jobs, we spend quite a bit of time on site preparation, such as: laying down the Corex sheets on the floor (to protect patios), and fully submerging glazing with window protection film, to prevent an unnecessary splashing during the basecoating and topcoating processes.
All of the rubbish was in this case stored in high-duty rubble sacks, then collected at the end of the project and disposed of. We are providing this service as part of the whole package and we are upfront about our installation activities in our contract. Unless the project is over a certain m2 size, we wouldn’t normally order a separate skip.
External Wall Insulation Project Completion and Handover in Esher
I am text block. Click edit button to change this text. Lorem ipsum dolor sit amet, consectetur adipiscing elit. Ut elit tellus, luctus nec ullamcorper mattis, pulvinar dapibus leo.
We ask the customer to keep an eye on the condition of the façade. For example, if it gets a bit too dusty, we ask the customer to take their garden hose, and on a low pressure setting, to wash down the walls time-to-time. Because the silicone render from EWI Pro Insulation Systems is hydrophobic, it doesn’t let moisture back in, when it has fully set – this allows it to be maintained easily this way.
Obviously, we also ask our customers to report any damage to the outside walls following the installation of the system. It is important that any damage is reported to us within 28 days, so the problem can be isolated and mitigated with any necessary repair work.
If you are in the Esher area, Walton-on-Thames , etc, and you like what we did on this project, and you would like these works to your property, then so not hesitate to get in touch.
